Architectural renderings often look similar on the surface, but the way they are produced makes a big difference. Behind every consistent result is a clear process that defines how models are built, how materials and lighting are handled, and how feedback is turned into final images.
In this article, we walk through the professional 3D architectural rendering process step by step: from the first 3D model to final delivery, and explain where most projects lose time, where quality is usually compromised, and how a structured workflow helps avoid common problems.
Why the Architectural Rendering Process Matters for Architects and Developers
Renderings are used repeatedly throughout a project. They appear in internal reviews, planning submissions, investor decks, and later in real estate listings. When visuals are produced without considering this full cycle, they tend to solve only one task and quickly lose value. A defined architectural rendering design process helps keep images relevant as the project evolves and aligns closely with how teams approach 3D Rendering In Property Development.
From Floor Plans to Photorealistic Marketing Assets
Floor plans describe architectural design precisely, but they require experience to interpret. Proportions, depth, and spatial hierarchy are not always clear outside the design team, especially when decisions need to be made quickly.
Architectural visualization translates this information into something easier to evaluate. Exterior rendering shows how the building relates to its surroundings, following the same logic used in 3D Exterior Rendering workflows. Interior rendering clarifies scale, circulation, and interior design decisions, helping stakeholders understand how the space will look depending on use and context.
For real estate projects, this translation is essential. Buyers and tenants often rely on visuals to understand layouts and scenarios long before construction. This is why Photorealistic Architectural Rendering plays such a central role in modern listings.
How a Structured Process Saves Time, Budget, and Reduces Risk
Visualization problems usually begin when production stages overlap. Geometry changes after materials are applied, lighting adjustments happen during revision rounds, and feedback arrives without clear priorities.
Professional rendering services separate the workflow into defined steps. Modeling comes first, followed by materials, lighting, rendering, and post processing. Reviews happen at planned checkpoints. This approach reduces repeated work and keeps scope under control, which becomes critical during competitions, approvals, and presales.
The Complete 3D Architectural Rendering Process: 4 Core Stages
A professional 3D architectural rendering process is built as a sequence of decisions made in the right order. Each stage narrows uncertainty and prepares the ground for the next one. When this order is respected, the process stays predictable and visuals remain consistent from early reviews to final delivery.
Stage 1 – Modeling and Scene Setup
Work begins with geometry prepared specifically for visualization, whether created from scratch or adapted from CAD or BIM data. The focus is visual clarity rather than documentation accuracy.
Creating or Importing an Accurate 3D Model of the Building
The model is cleaned, simplified, and structured to behave predictably under light and camera. Proportions, scale, and hierarchy are adjusted to avoid issues later in the process.
Adding All Architectural Design Elements and Surroundings
Once the building is defined, context is added. Exterior scenes include site conditions, surrounding development, and landscape, reflecting approaches commonly used in Urban Design Rendering. Interior scenes focus on spatial relationships, ceiling heights, and openings that influence how space is perceived.
Setting Up Camera Angles and Professional Lighting
Camera positions and base lighting are established early. These choices define how the project will be read visually and remain consistent throughout later stages.
Stage 2 – Texturing and Material Application
With the scene structure in place, the work shifts to materials, where the character of the project begins to emerge.
Applying Photorealistic Materials and High-Quality Textures
Materials are based on real references and calibrated for physical accuracy. Reflection, roughness, and transparency are adjusted so surfaces respond to light as they would in real conditions.
Fine-Tuning Scales, Reflections, and Real-World Imperfections
Uniform finishes are avoided. Subtle variations and imperfections prevent surfaces from appearing flat or synthetic and bring the image closer to photorealistic rendering. Once approved, materials are locked, as changes at this stage affect lighting and balance.
Stage 3 – Rendering and Post-Processing
Draft Renders for Fast Feedback
Draft renders are used as checkpoints. Composition, lighting balance, and material behavior are reviewed while changes are still manageable.
Final High-Resolution Rendering
Final rendering begins only after decisions are fixed. Offline rendering techniques are used where realism is critical, while real-time rendering may support faster iteration during design reviews.
Professional Post-Processing for Maximum Realism and Impact
Post-processing focuses on clarity rather than embellishment. Color balance, contrast, and depth are refined without altering architectural intent.
Stage 4 – Client Review and Revisions
Client review runs through the entire workflow.
Structured Feedback Rounds
Feedback is collected at defined checkpoints, and the number of revision rounds is agreed in advance and specified in the contract. Timely, consolidated feedback helps keep the process efficient, while delays can extend production even when the scope remains unchanged.
Final Delivery Package (Multiple Resolutions, 360°, VR-Ready if Needed)
After final approval, assets are prepared for print, web, presentations, and immersive formats such as 360° views and virtual reality, without the need to rebuild the scene.
Key Differences Between In-House, Freelance, and Top-Tier Studio Rendering Services
Speed, Consistency, and Quality Control
In-house teams usually handle visualization alongside other responsibilities. This limits how much time and attention can be allocated to rendering, especially when several projects move in parallel. Freelance setups depend on specific individuals, which makes availability, continuity, and replacement difficult if schedules change.
Professional studios work differently because visualization is their only focus. They are set up to handle multiple projects of varying scale and complexity at the same time, often across different regions and Architectural Rendering Styles.
Access to the Latest Real-Time and Offline Rendering Engines
Professional studios are equipped for a wide range of visualization tasks from the start. Because they work with projects of different scales and complexity regularly, they maintain a full set of production tools, licensed rendering software, and specialized plugins required for both offline and real-time rendering.
This is often a practical limitation for in-house teams or freelancers. Certain licenses may not be needed on every project, may be too costly to maintain permanently, or may simply not be available when requirements change. Studios avoid this gap by keeping the entire toolchain in place, allowing them to switch between different types of visualization without delays or compromises.
As a result, technical constraints rarely dictate creative or production decisions. The workflow adapts to the project, not the other way around.
Proven Workflow That Architects and Developers Trust
As resources are shared and specialists are already in place, studios can scale teams quickly and redistribute work across parallel project streams without disrupting quality or timelines. This level of flexibility is not always possible in in-house or freelance setups, where capacity is fixed and changes often require additional hiring, onboarding, or schedule adjustments.
Real-World Case Studies: How Our Process Delivered Results
The value of a structured architectural rendering process is easiest to see in real projects. Different tasks require different visual priorities, but the same underlying workflow allows teams to adapt without rebuilding production from scratch. The following case studies show how this approach works in practice.
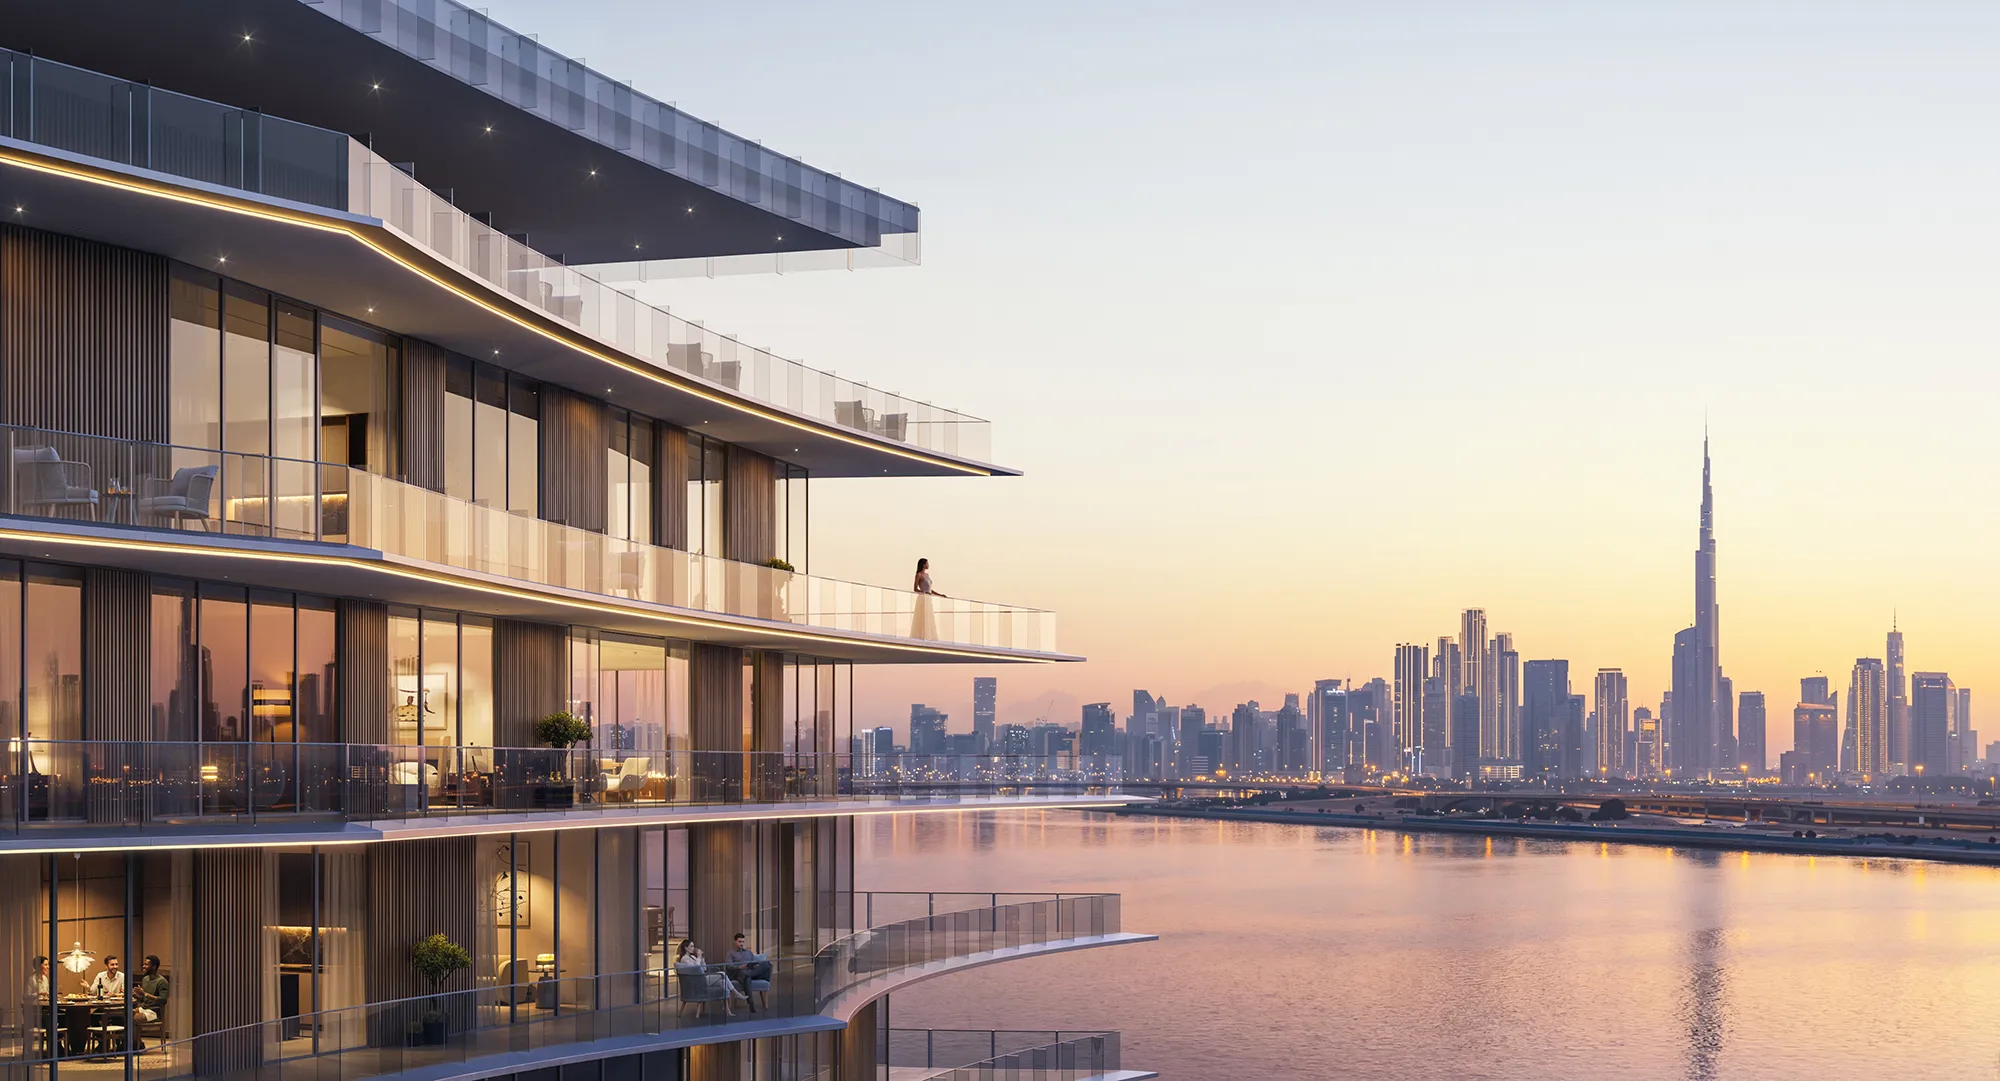
Faster Pre-Sales for a High-Rise Residential Project
In residential projects, buyers do not look at a single image. They compare layouts, views, apartment positions within the building, and the overall structure of the project. When these visuals are produced by different teams or at different stages, inconsistencies almost always appear.
In this project, exterior views, interior renderings, floor plans, and a virtual tour were developed within one workflow and from the same base data. As a result, all materials matched in scale, orientation, and material logic. Buyers did not have to infer how one visual related to another.
This is how 3D Apartment Renders are typically produced as a coordinated set that supports decision-making before construction begins.
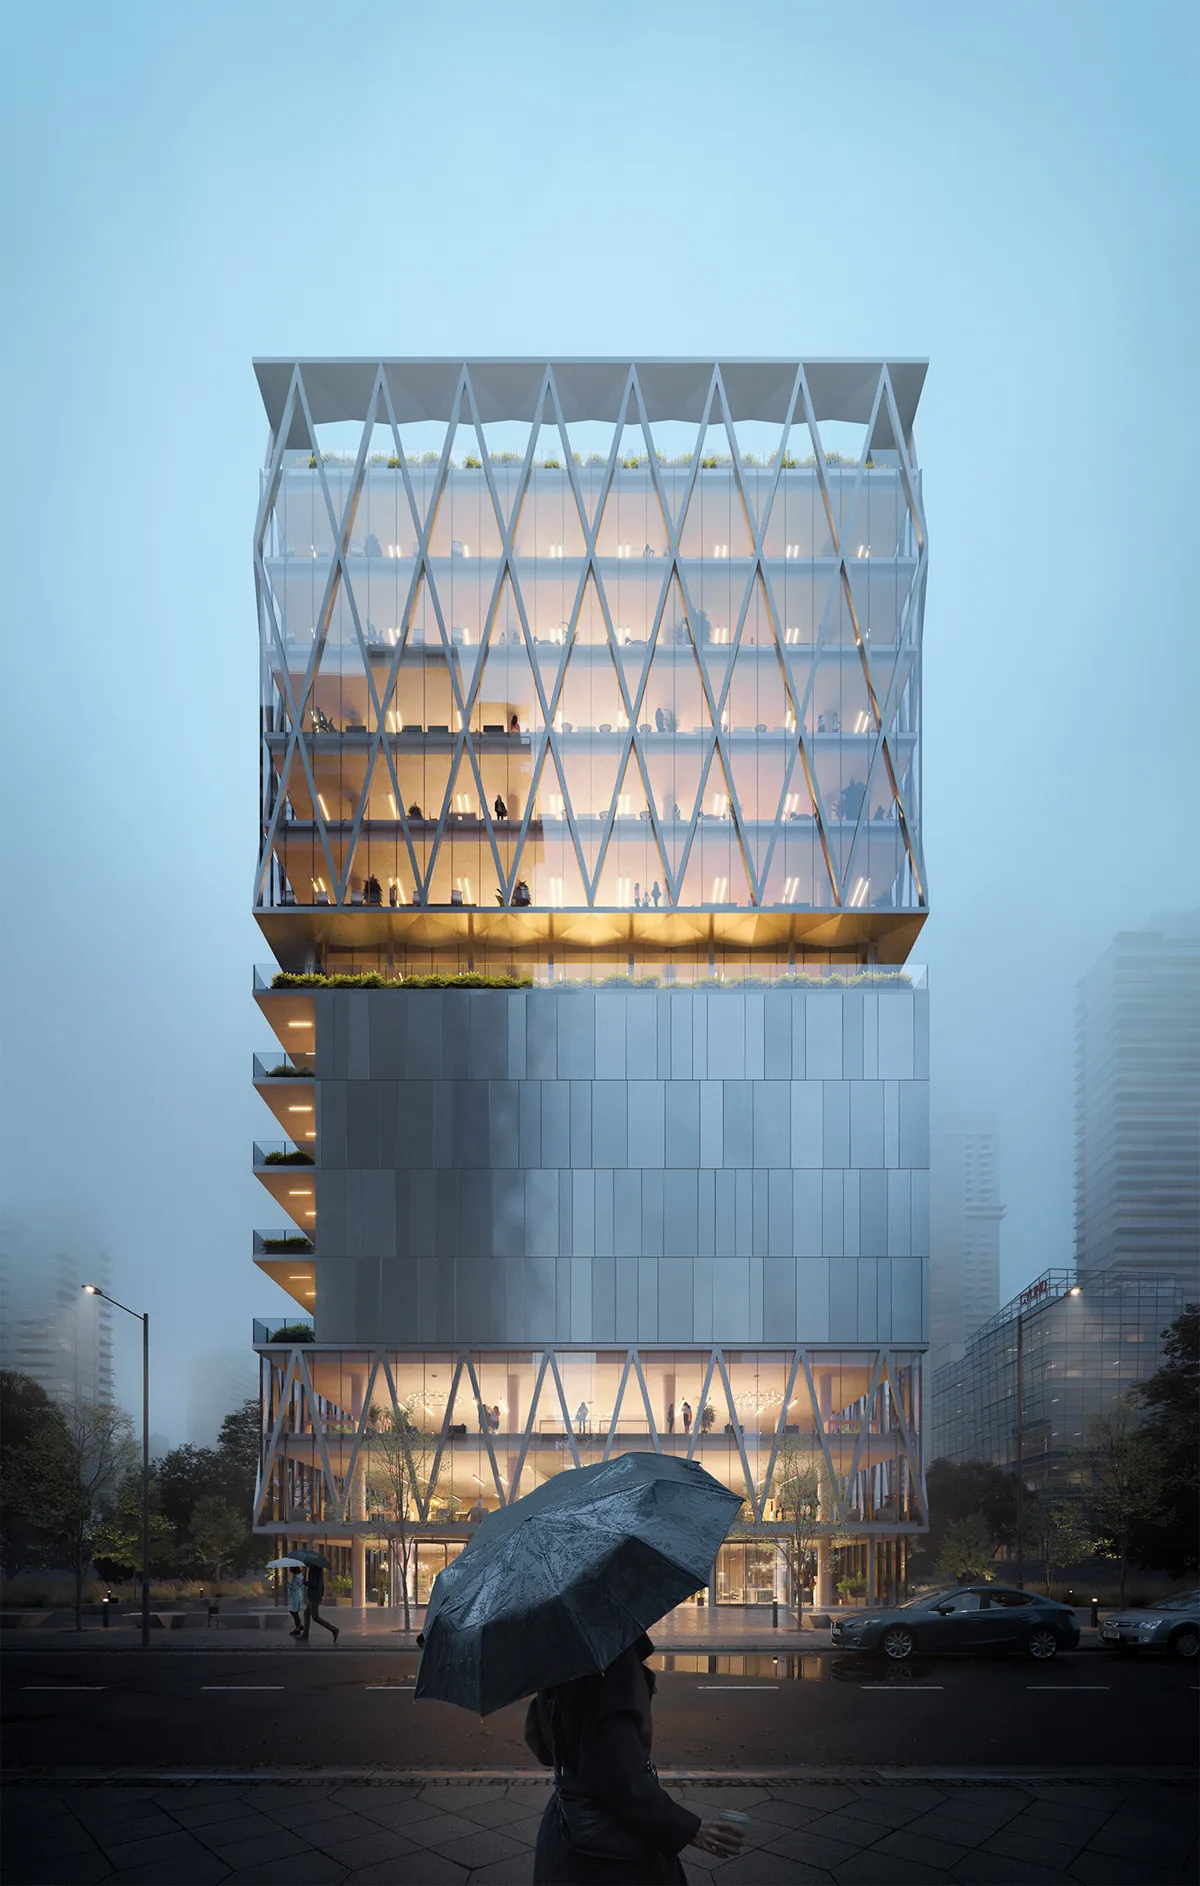
Winning a Closed Architectural Competition with One Exterior Visualization
In architectural competitions, the challenge is different. Jurors often review many proposals in a limited time, and the ability to communicate intent quickly becomes critical.
In a closed competition, a single exterior visualization was used as the primary visual statement. The image focused on context, scale, and the relationship between the building and its surroundings, rather than on decorative detail. Because earlier stages of the process had already fixed geometry, materials, and lighting logic, the image could be refined without last-minute structural changes.
This clear, focused approach helped the proposal stand out and secure a shortlist position. Similar strategies are often used in large-scale and industrial projects, where conveying structure, function, and context matters more than interior detail, as seen in 3D Industrial Rendering Services.
All images © CYLIND
